
Have you ever been ziplining in the rainforest? If not, you are missing out! A zip line tour is a great way to do a lot of sightseeing in a little time. And it’s incredibly fun, too!
We booked a zip line and rappel tour with Go Adventure Park during our stay in La Fortuna. Although I didn’t realize it at the time, they work closely with the resort we stayed at, Montana de Fuego. It was absolutely perfect because a guide met us right at the hotel lobby and walked us across the street to the tour office to get started. Doesn’t get better than that!
But don’t think that you have to stay at Montana de Fuego to book a tour here. You can sign up for ziplining, horseback riding, white water tubing, and more, no matter where you stay!
Today, I’ll be focusing specifically on the zip line and rappel tour. If you’re interested in taking this kind of tour but don’t know what to expect, here’s everything you’ll need to know!
In This Post
- A Little About Go Adventure Park
- FAQs About the Zip Line & Rappel Tour
- Our Zip Line & Rappel Tour with Go Adventure Park
- Prepping for the Zip Lines
- Navigating the Zip Lines
- The Rappel Wall
- Mileku Tribe Experience
A Little About Go Adventure Park
I understand that booking a tour with a new agency doesn’t always turn out as you hoped. Especially when you add the element of booking an excursion in a different country, you have no idea what you’re getting into.
I am happy to say that Go Adventure Park was fantastic from start to finish. They were professional, efficient, and they even conducted our tour in English, which was really nice. (English is more common than I expected because Costa Rica relies so heavily on tourism, but don’t count on it everywhere. Practice your Spanish!)
As I mentioned above, Go Adventure offers several different tours, from action-packed adventures to calm chocolate and sloth-seeking tours.
If you sign up for an active tour, you will have to sign a waiver when you arrive at the office. These are available in English and Spanish.
If you drove there from a different location and have valuables that you want to lock up, they have lockers that you can use right in the office. After everyone is checked in and ready to go, your group will board a shuttle that will take you to your tour location. Ours was only about 5 minutes down the road.
We had several guides with us during our tour, and they were all incredibly friendly, and most spoke excellent English. This was extremely helpful during the initial instructions and as they led us through the different parts of the tour. There was never a time when we were unsure of what was going on, and I really appreciated that.
Go Adventure also offers a very affordable photo package! It was only $10 per person, and they took some great photos that I’ll enjoy looking back on. These were uploaded within 24 hours, and I had 2 weeks to download them.
When our tour ended, the shuttle was waiting to return us to the main office. It was all very convenient, and I would definitely have booked another tour with them if we’d had the time!
FAQs About the Zip Line & Rappel Tour
- Do I need any previous experience? Nope! This tour is great for first-timers and experienced zipliners.
- Do I have to rappel? The rappel portion of the tour is entirely optional. It’s not recommended for people with bad knees because of how you have to brace yourself and the long stairway back to the top.
- How much does it cost? $55 per person, but they run deals for $50 each.
- How long does the tour last? Approximately 2 hours, including transportation to and from the zipline site.
- Can I use my action camera? Yes! They have helmets with inserts for standard Go-Pro/action camera helmet mounts. (We used an Akaso Brave 4 and mount, and they fit perfectly.)
- What should I wear? Comfy clothes and closed-toed shoes. Do NOT wear flip-flops! I recommend dry-fit style athletic gear and waterproof hiking shoes. I also wore a security belt under my clothes to hold our phones and room key.
- What should I bring? Sunscreen, Go-Pro/action camera with a helmet mount, money for the photo package.
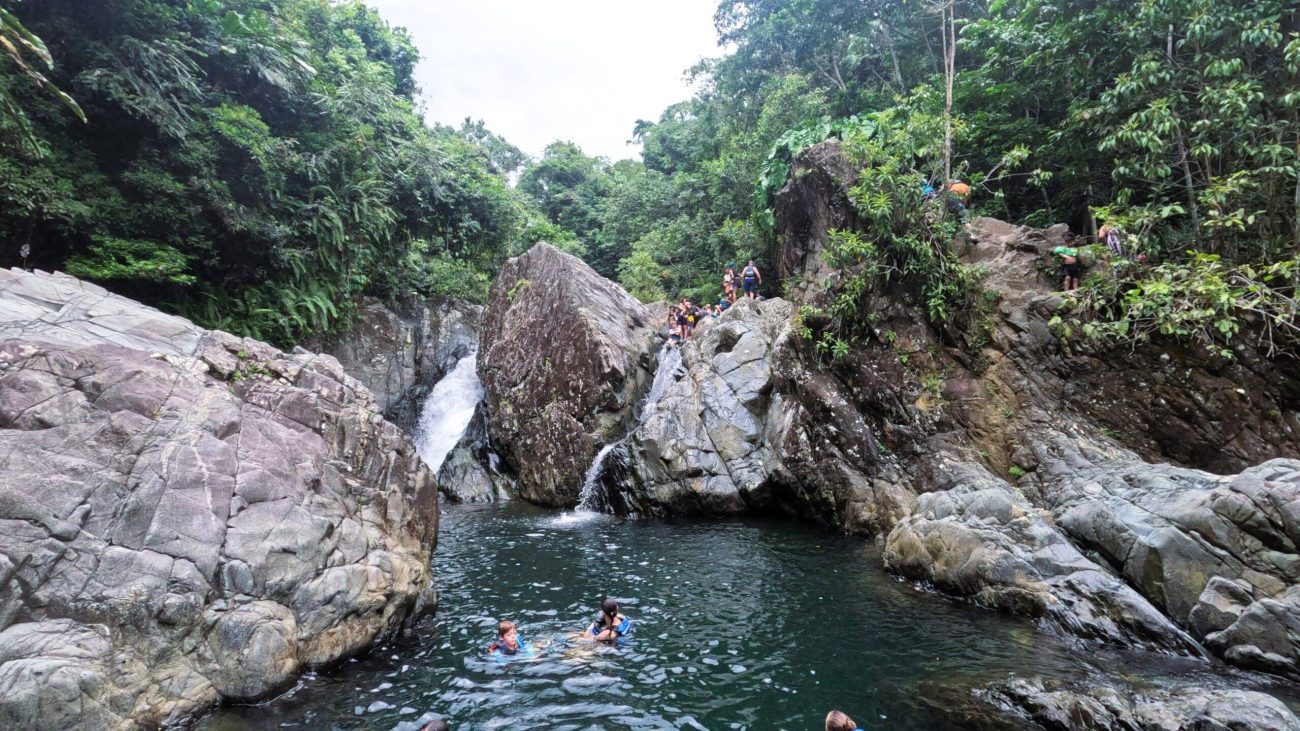
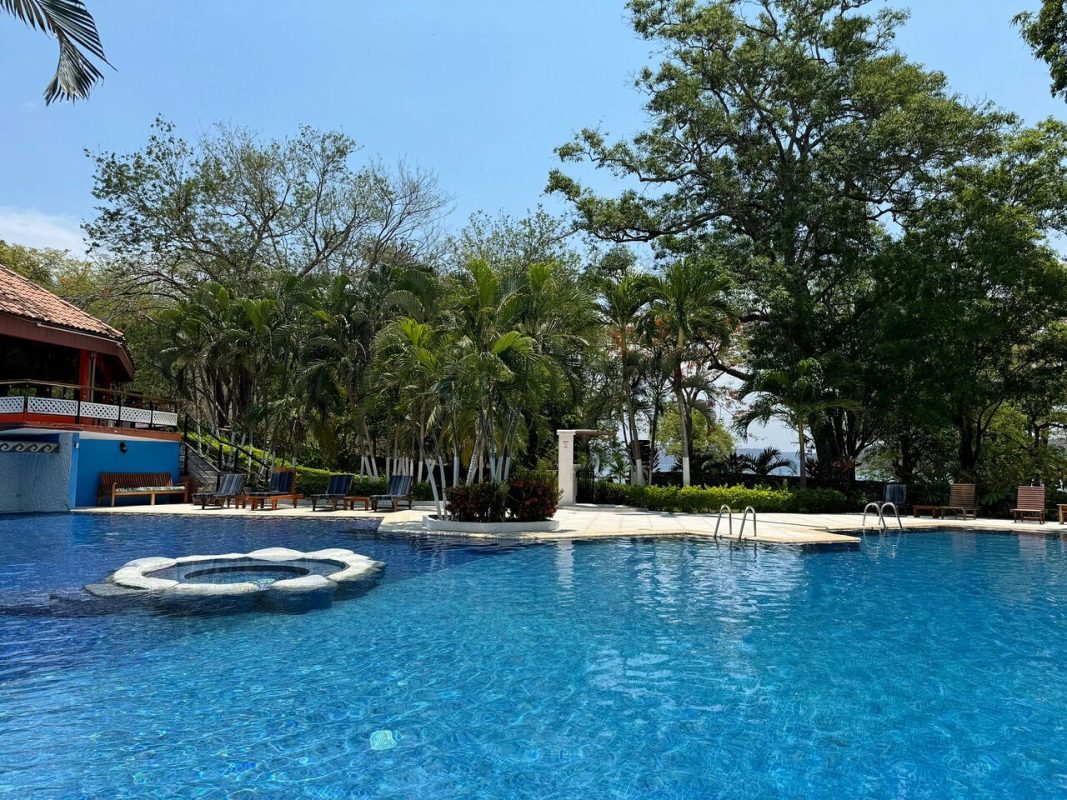
- What does the tour include? 10 ziplines, a 50-meter rappel wall, and access to Montana de Fuego’s Thermal Mineral Pools. Ours also included a quick stop at the Mileku Tribal Experience.
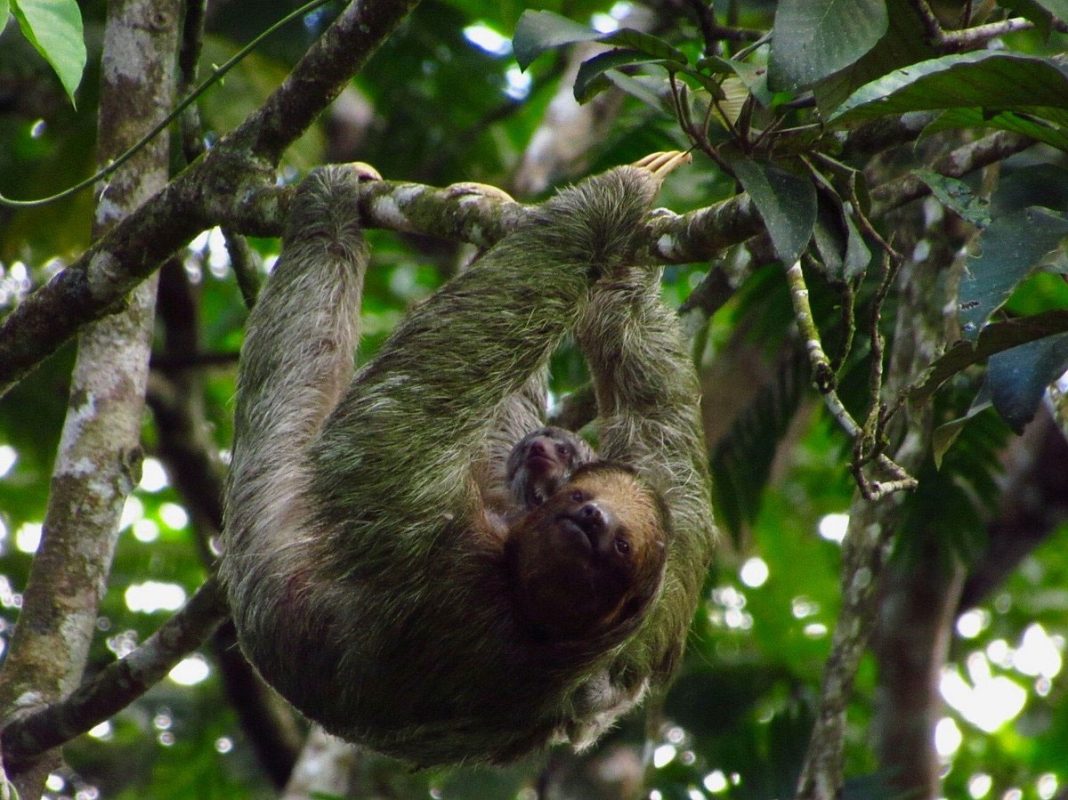
- Will I see wildlife? We didn’t see any, unfortunately. However, the region is home to several kinds of monkeys, toucans, and sloths! So keep your eyes peeled.
Our Zip Line & Rappel Tour with Go Adventure Park
I think the best way to understand our adventure is to watch our video footage, but for those of you who like to read, I will walk you through it here as well.
Prepping for the Zip Lines
Our shuttle took us down the road to a small shack-like structure next to a field of zebus. We had the option to use the bathrooms before the guides outfitted each person with a harness, belay glove, and helmet.
Since I wanted the photo package, I also got a pink sticker on my helmet. Daniel’s helmet had the slider for a camera mount.
After everyone was geared up, the head guide gave us a tutorial on navigating the course. This included:
- How to properly use the belay glove to stabilize and break
- Where to put your unprotected hand
- How to pull ourselves up to get clipped into tall lines
- How to sit correctly
- What to do if we break too hard and get stuck (don’t worry, no one did, lol)
After that, the first few guides took off to prepare for us on the next couple of platforms. Throughout the course, 3 to 4 of them would move ahead so that we could immediately clip into the next one to two lines and keep the group moving.
Navigating the Zip Line Course
The first 3 lines on the route were “for practice.” These lines were lower and shorter than the last 7. This allowed each person to get used to breaking, stabilizing, and the general experience.
They were still fun, though!
However, things definitely picked up on line 4. This zip line took us right through the trees, so close we could’ve reached out and touched the branches!
Then, zip line 5 gave us the first truly epic views of the valley below and mountains in the distance. It was gorgeous!
Several lines go directly from platform to platform, so you can just zip in, cross the platform, and get hooked into the following line. However, this is a canopy tour, so you will have to do some climbing and walking.
At least 2 of the platforms require you to climb stairs around a tree to reach the next take-off point, and for one, you’ll need to go down a steep incline. Just be prepared for that, and make sure you wear the right shoes.
Also, I mentioned above that the guide showed us how to pull ourselves up to get clipped in. I just had to go on my tiptoes for most of the lines. But for a few, I had to jump and hold myself so my clip would reach the line. If you can’t jump up, you can’t get on the line, so keep that in mind when deciding whether to book this tour. Also, beware of blisters on your left hand from this motion.
Daniel had no problem because he’s 6’1″, but my fellow shorties will have to work for it, haha.
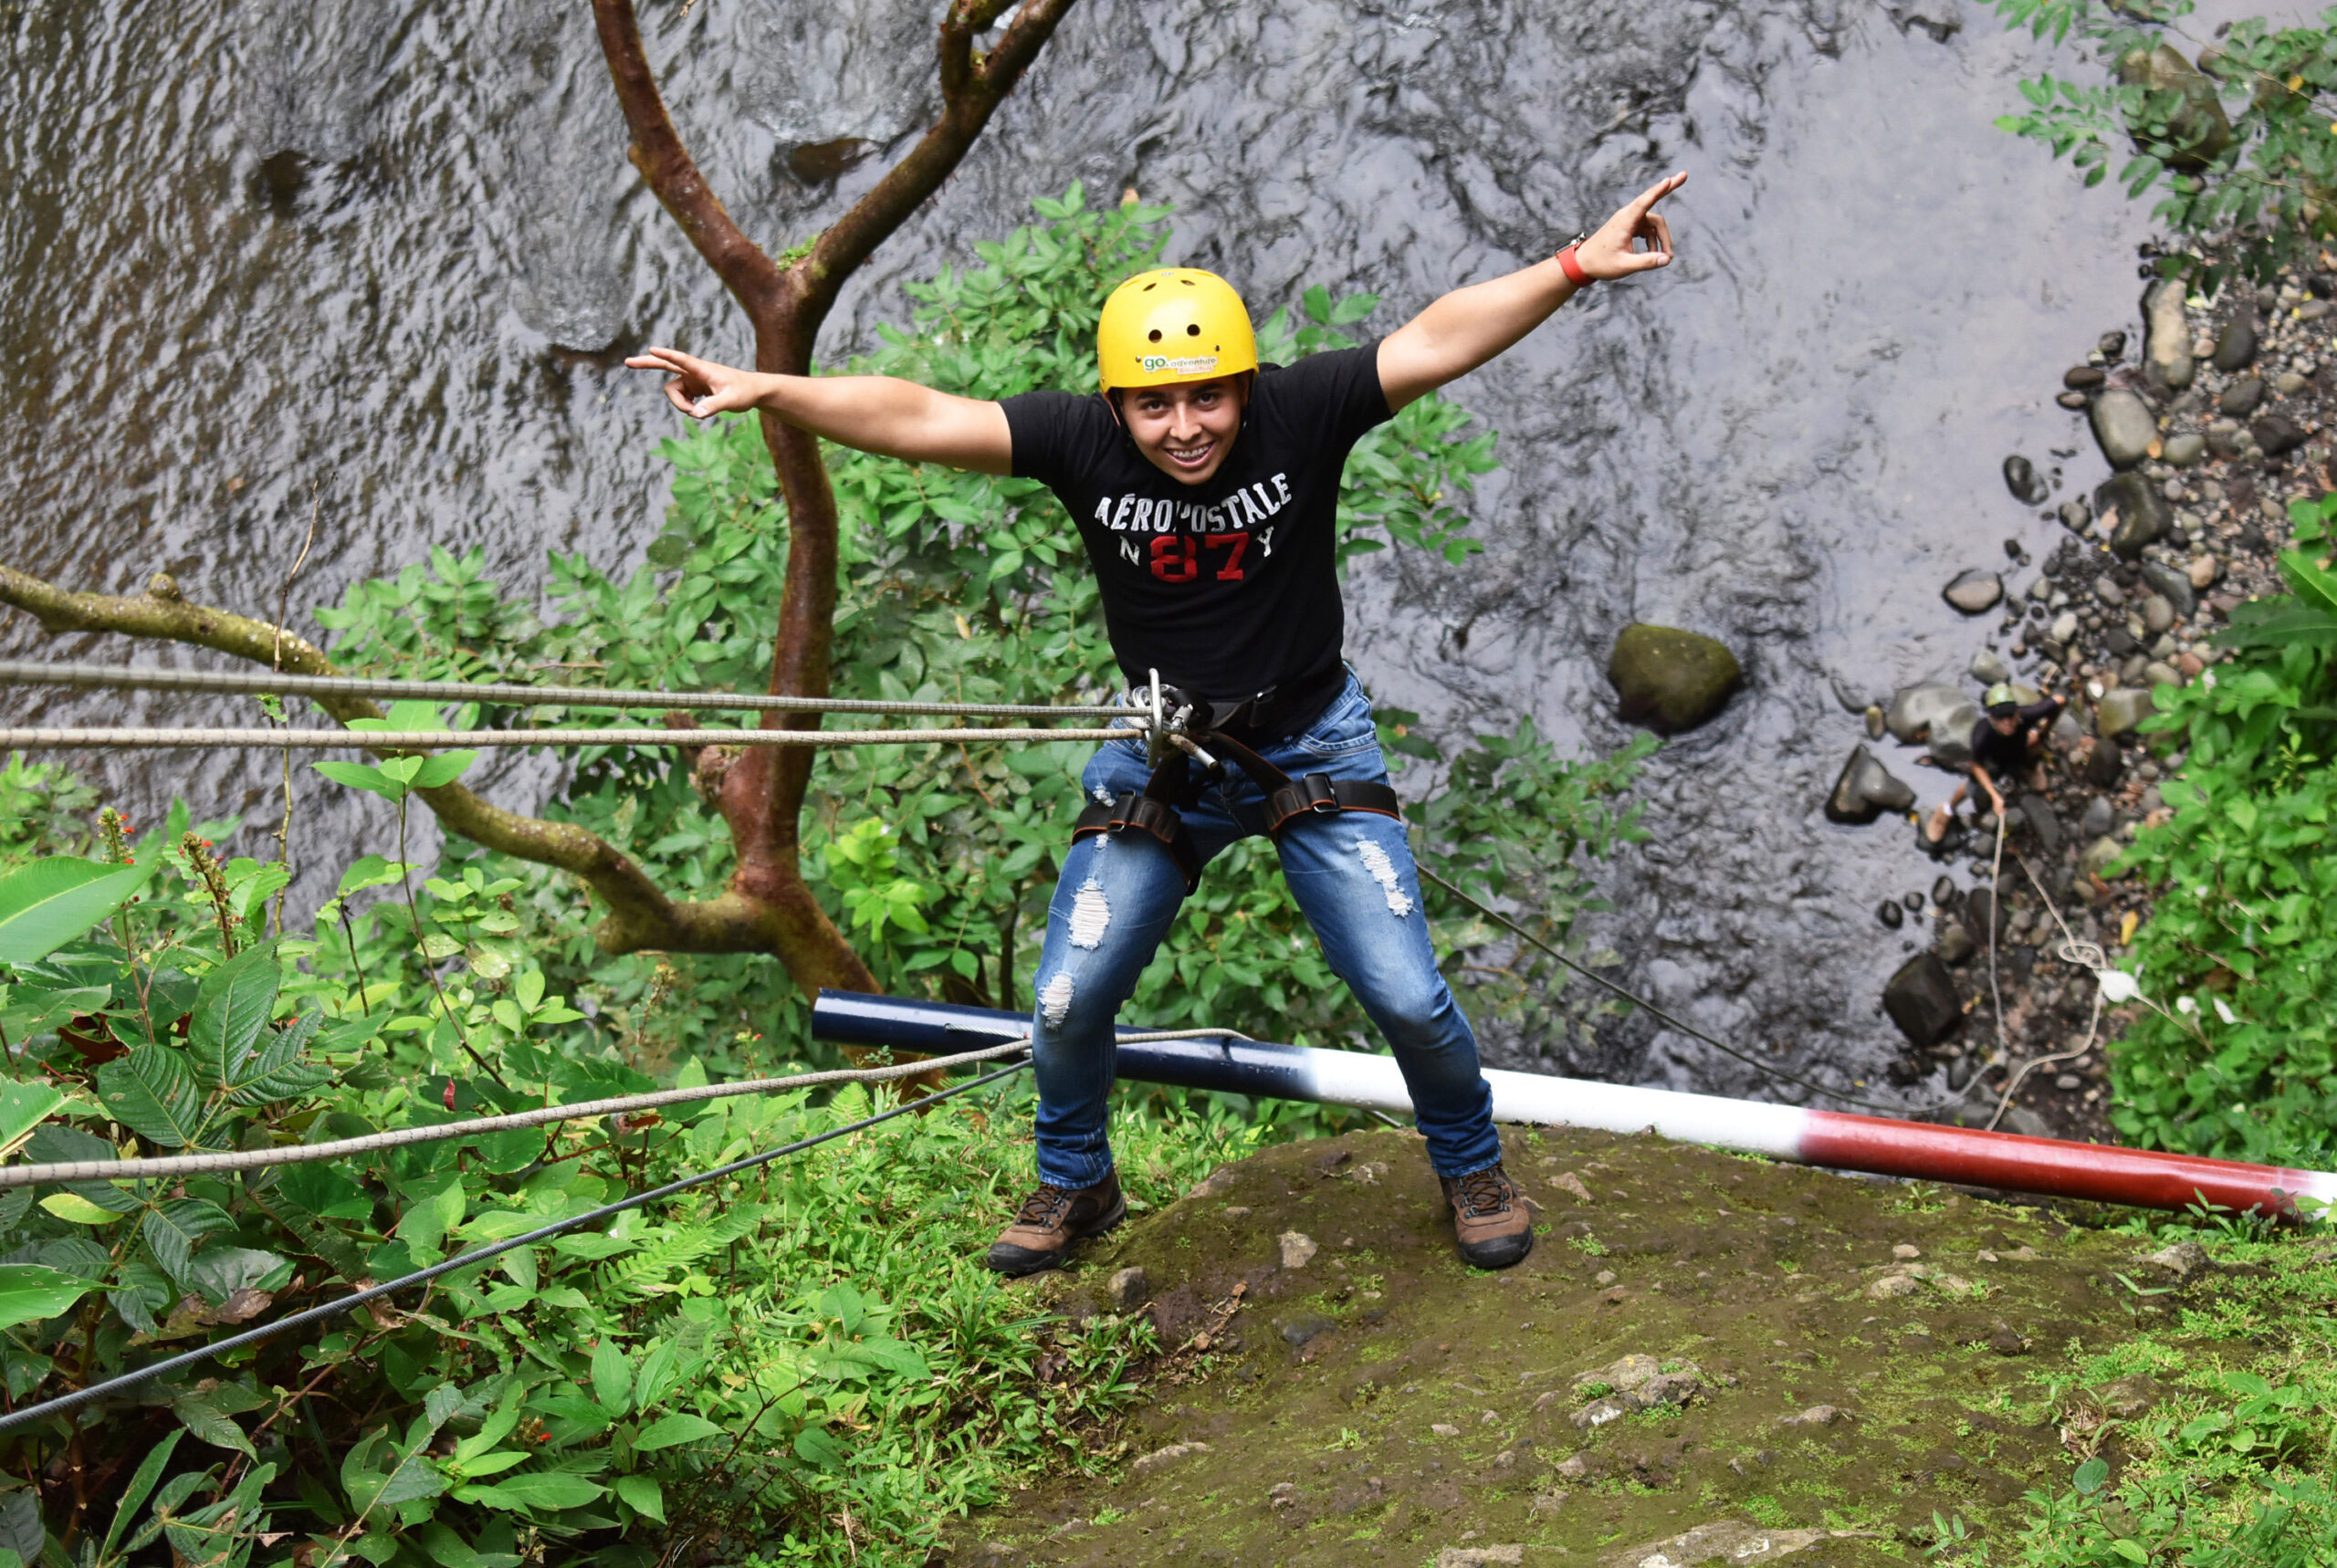
The Rappel Wall
The next part of the tour is 100% optional, but it’s so fun! The last zip line ends at a covered deck overlooking the Rio Arenal. At the edge of the deck, there’s a sheer drop down to the riverbed and rocky shore. If you’re brave enough to take the leap, you can rappel down the 50-meter cliffside to the river!
They don’t recommend this part if you have bad knees because rappelling puts a lot of pressure on your legs. There’s also a challenging set of stairs back to the top, so it’s wise to know your limits.
The guides stopped us here to give another demonstration on how to correctly rappel down the wall. It’s crucial to keep your knees bent and your legs apart so that you don’t twist and slam into the wall or shock your joints.
Those who wanted to try the wall got clipped onto a long rope that made sure we didn’t accidentally fall over the edge while we waited.
When it was my turn, the guide had me put my back to the cliff and step off (so scary!). But he had the rope tight, so I hung in place for just a moment until he fed me some line.
One thing I really liked was the guide controlled the line. Typically, you have to release your own rope and focus on jumping correctly. But for my first time, it was nice to only have to focus on one part.
Mileku Tribe Experience
When we made it back up the stairs, our shuttle was already waiting for us, and there was a shack with bathrooms and some benches to rest while we waited for the remainder of the group to finish rappelling.
But before we all climbed back in, the guides led us right across the dirt road to a garden with a small pathway. This trail led to a large hut filled with colorful wooden carvings and several members of the local Mileku Tribe dressed in traditional garb!
They greeted us warmly as we all sat down on wooden benches inside the hut and handed us a small cup of a traditional Mileku juice drink.
Then, one of the women gave us a brief introduction to the Mileku people, including their customs, language, and crafts all around us.
It only took about 10 minutes, but we really enjoyed it! All of the crafts were for sale, and you could buy masks, drums, baskets, rain sticks, and more.
(This particular experience is also offered directly through the Montana de Fuego hotel for free if you stay there.)
After our group had finished making their purchases, we loaded back into the shuttle and returned to the main office to collect our items and pay for our photo packages.
Closing Thoughts
I would definitely recommend Go Adventure Park for any tours you want to take in La Fortuna. If we end up back in the area, I’d love to try their horseback riding and whitewater tubing tours as well.
If you’re planning a trip to Costa Rica, make sure you save this post to reference later and don’t forget to sign up for the blog so you can enjoy all 13 posts in my Pura Vida series!
Have you ever been zip lining in the rainforest? I’d love to hear about it in the comments below! I’m making a bucket list of future excursions 🙂
Also, feel free to drop any questions you have that I didn’t answer above. If you’re wondering, someone else probably is, too.
Thanks for reading, and I hope you’ll join me next week for Part 4 of our Costa Rica adventures.
Pura Vida!

0 thoughts on “An Exciting Zip Line & Rappel Tour in La Fortuna”