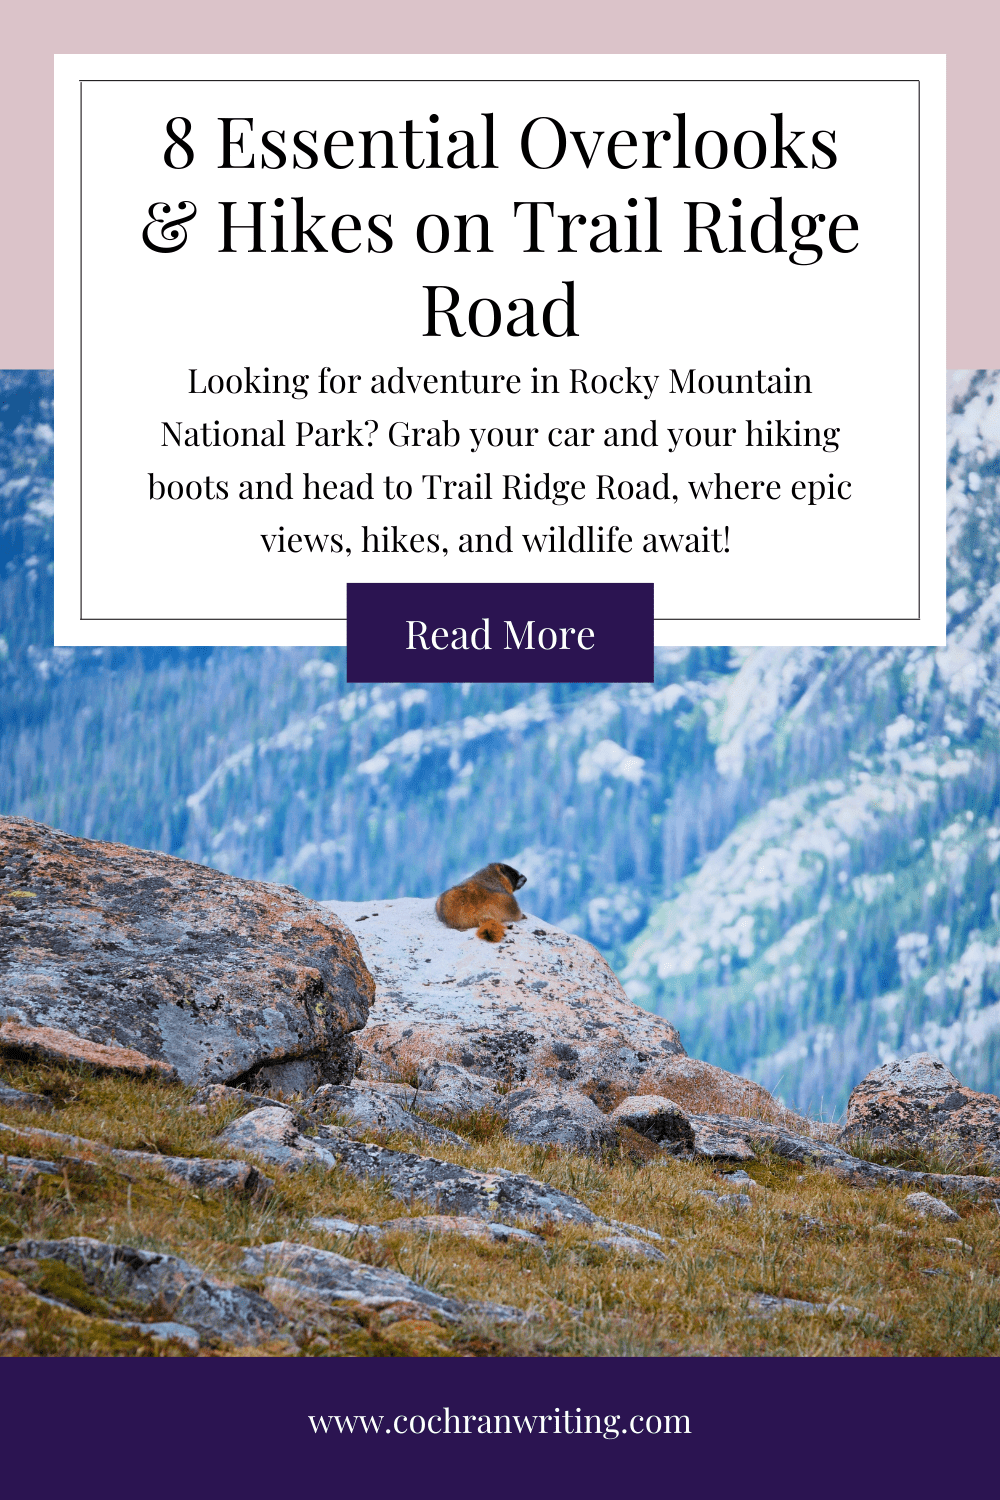
Few spots in America are quite as beautiful and awe-inspiring as Rocky Mountain National Park. As America’s 5th most popular park, it attracts more than 4 million visitors per year, and it’s not hard to see why. The expansive mountains, numerous lakes, and diverse wildlife offer views that are truly once-in-a-lifetime for many people. And right at the top of all this beauty is the Trail Ridge Road.
The Trail Ridge Road is the highest continuously paved road in North America, reaching over 12,000 feet above sea level! It streamlines any road trip across the park from Estes Park to Grand Lake, offering breathtaking views at every turn–and there are quite a few turns.
While you can simply cruise along this stunning stretch of Highway 34, you’d be cheating yourself if you did. From incredible outlook points to unique hikes, there’s quite a bit to see here. That’s why I’ve put together a guide to help you maximize your time along this highway with the best outlook points and 2 awesome hikes!
Where to Start Your Trail Ridge Road Adventure

Because most visitors to Rocky Mountain National Park begin from the direction of Estes Park, this guide will take you from east to west. To avoid as much traffic as possible, I recommend entering at the Fall River Entrance (rather than the overcrowded Beaver Meadows Entrance).
From the Fall River entrance, you’ll quickly reach a fork in the road that will put you right on Trail Ridge Road, where you can begin your epic adventure! Just turn right at the fork onto Highway 34, and you’re good to go.
Top Stops for Trail Ridge Road

Trail Ridge Road has plenty of beautiful outlook points where you can pull over and take in the view, plus several hikes. You can certainly try to do all of them, but it may cut your day a bit short. So, I recommend starting with the following pull-off points and hikes, and if you have time (and energy) at the end, you can add a few more during your return journey!
Rainbow Curve Overlook
The first stop on this gorgeous road trip is the Rainbow Curve Outlook, which is about 30 minutes from the park entrance. Nestled on a curve high up in the mountains, this beautiful outlook point lets you gaze over a large portion of the park to the north. One of my favorite parts about this particular stop is the sign that helps you identify all the different features in front of you, including specific mountains and their heights!
But it’s also just beautiful to see so many mountains, valleys, and rivers in one sweeping vista.
Ute Trail

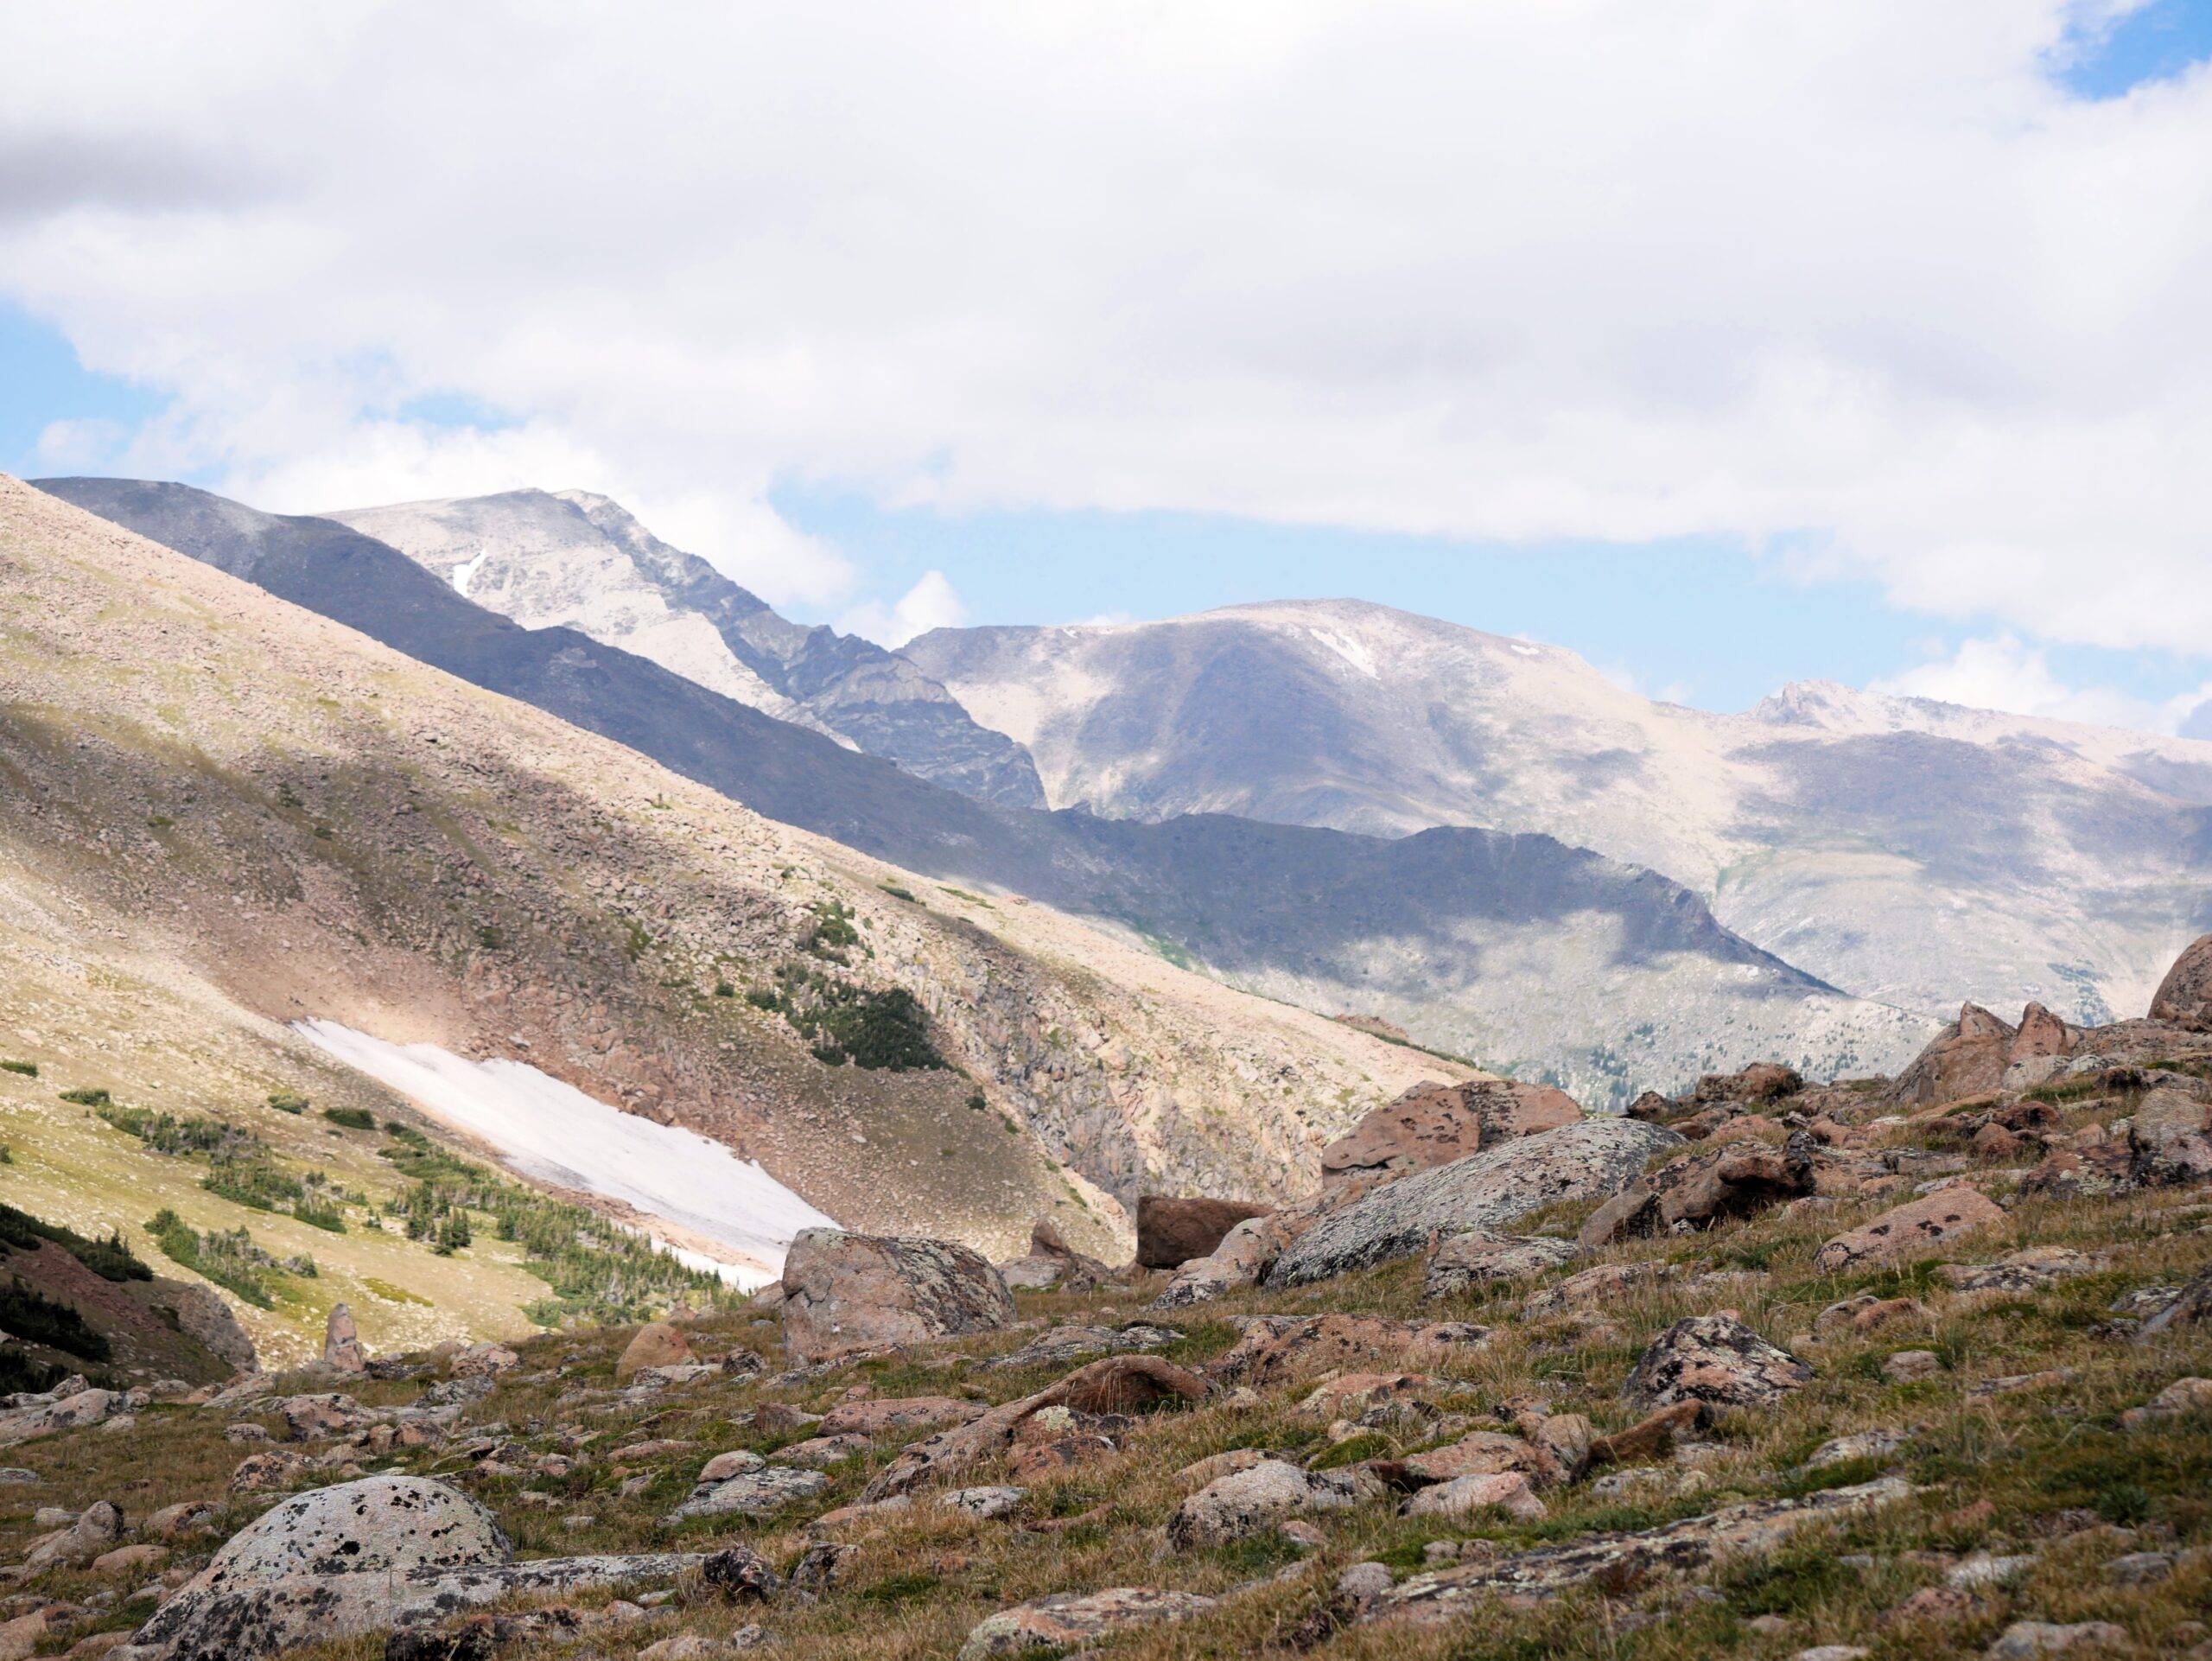
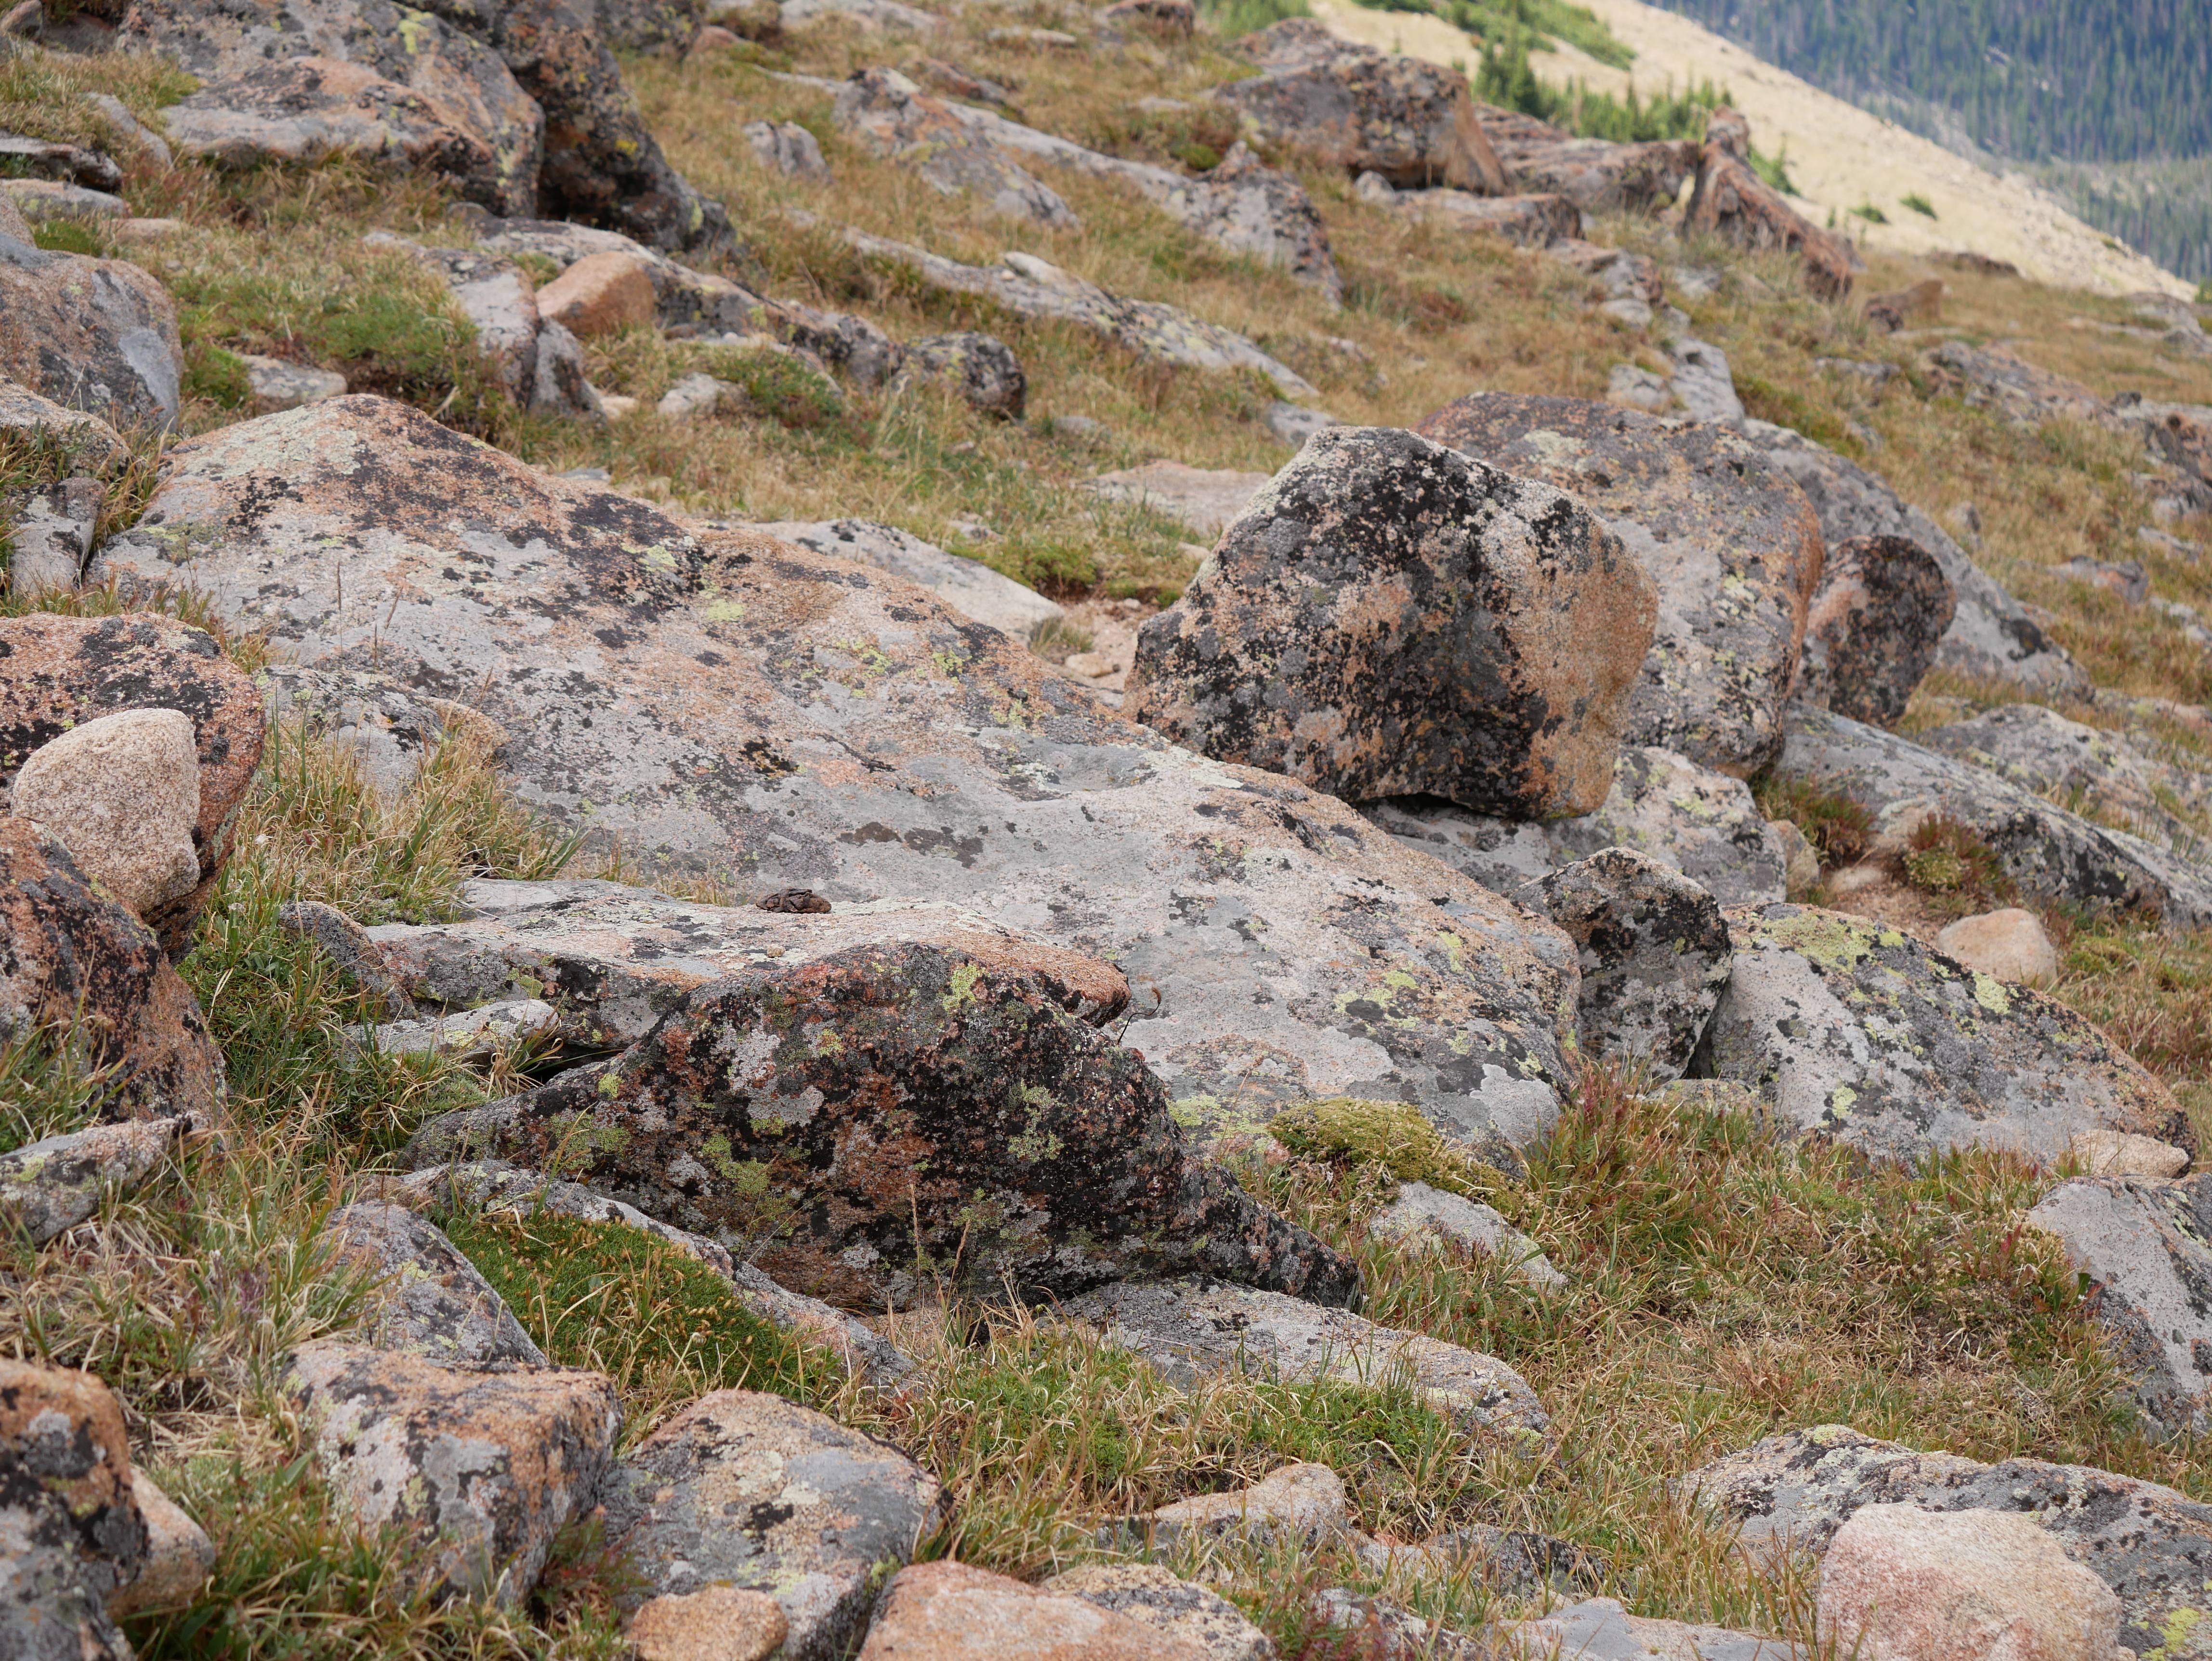
Your next stop and the first hike of the day is the Ute Trail. It’s just 4 minutes away from the Rainbow Curve Outlook, but you may need to circle a bit to find parking.
This moderate-to-hard trail can be challenging, but the views and wildlife make it worth the trek. I recommend making this hike one of the first things you do today so your energy is fresh and the sun isn’t too intense.
The most popular hike along this path is to Tombstone Ridge, which is about 1.8 miles long and takes you right up the spine of the mountain. If you go that far and back, you’ll hike about 3.6 miles in total.

Personally, I found the beginning of this hike to be the hardest part, as most of the path was composed of rocks, and we had to watch our steps. But once we got up on the ridge, we could enjoy the journey quite a bit more. However, I also loved the beginning of this hike because the rocks housed quite a few chunky marmots, whose presence absolutely made my day!

Anyways, once you get up on the spine, you’ll be able to see stunning views from every angle, but especially to your left and right. The mountainsides seem to just drop off, leaving you with this dramatic panorama of mountains in the distance. In some cases further on, the mountainsides actually do drop off into cliffs, so be careful if you stray from the path.
If you’re lucky, you may spot some mountain goats toward Tombstone Ridge as well. We weren’t able to see any, but we definitely saw plenty of evidence that they’d been in the area!


Because this is a moderately challenging hike, here are a few extra tips to prep for your journey:
- Go to the bathroom before starting this hike.
- Bring a full water bottle and stay hydrated–the high elevation can sap your hydration quicker than you realize.
- Wear layers you can easily adjust to accommodate both the chilly altitude and any sweat you might work up.
- Wear sturdy hiking shoes/boots with good tread.
- Bring a snack in case you need some extra energy for the trek back.
I also recommend keeping an eye on the time because it’s so easy to lose track of it up here!
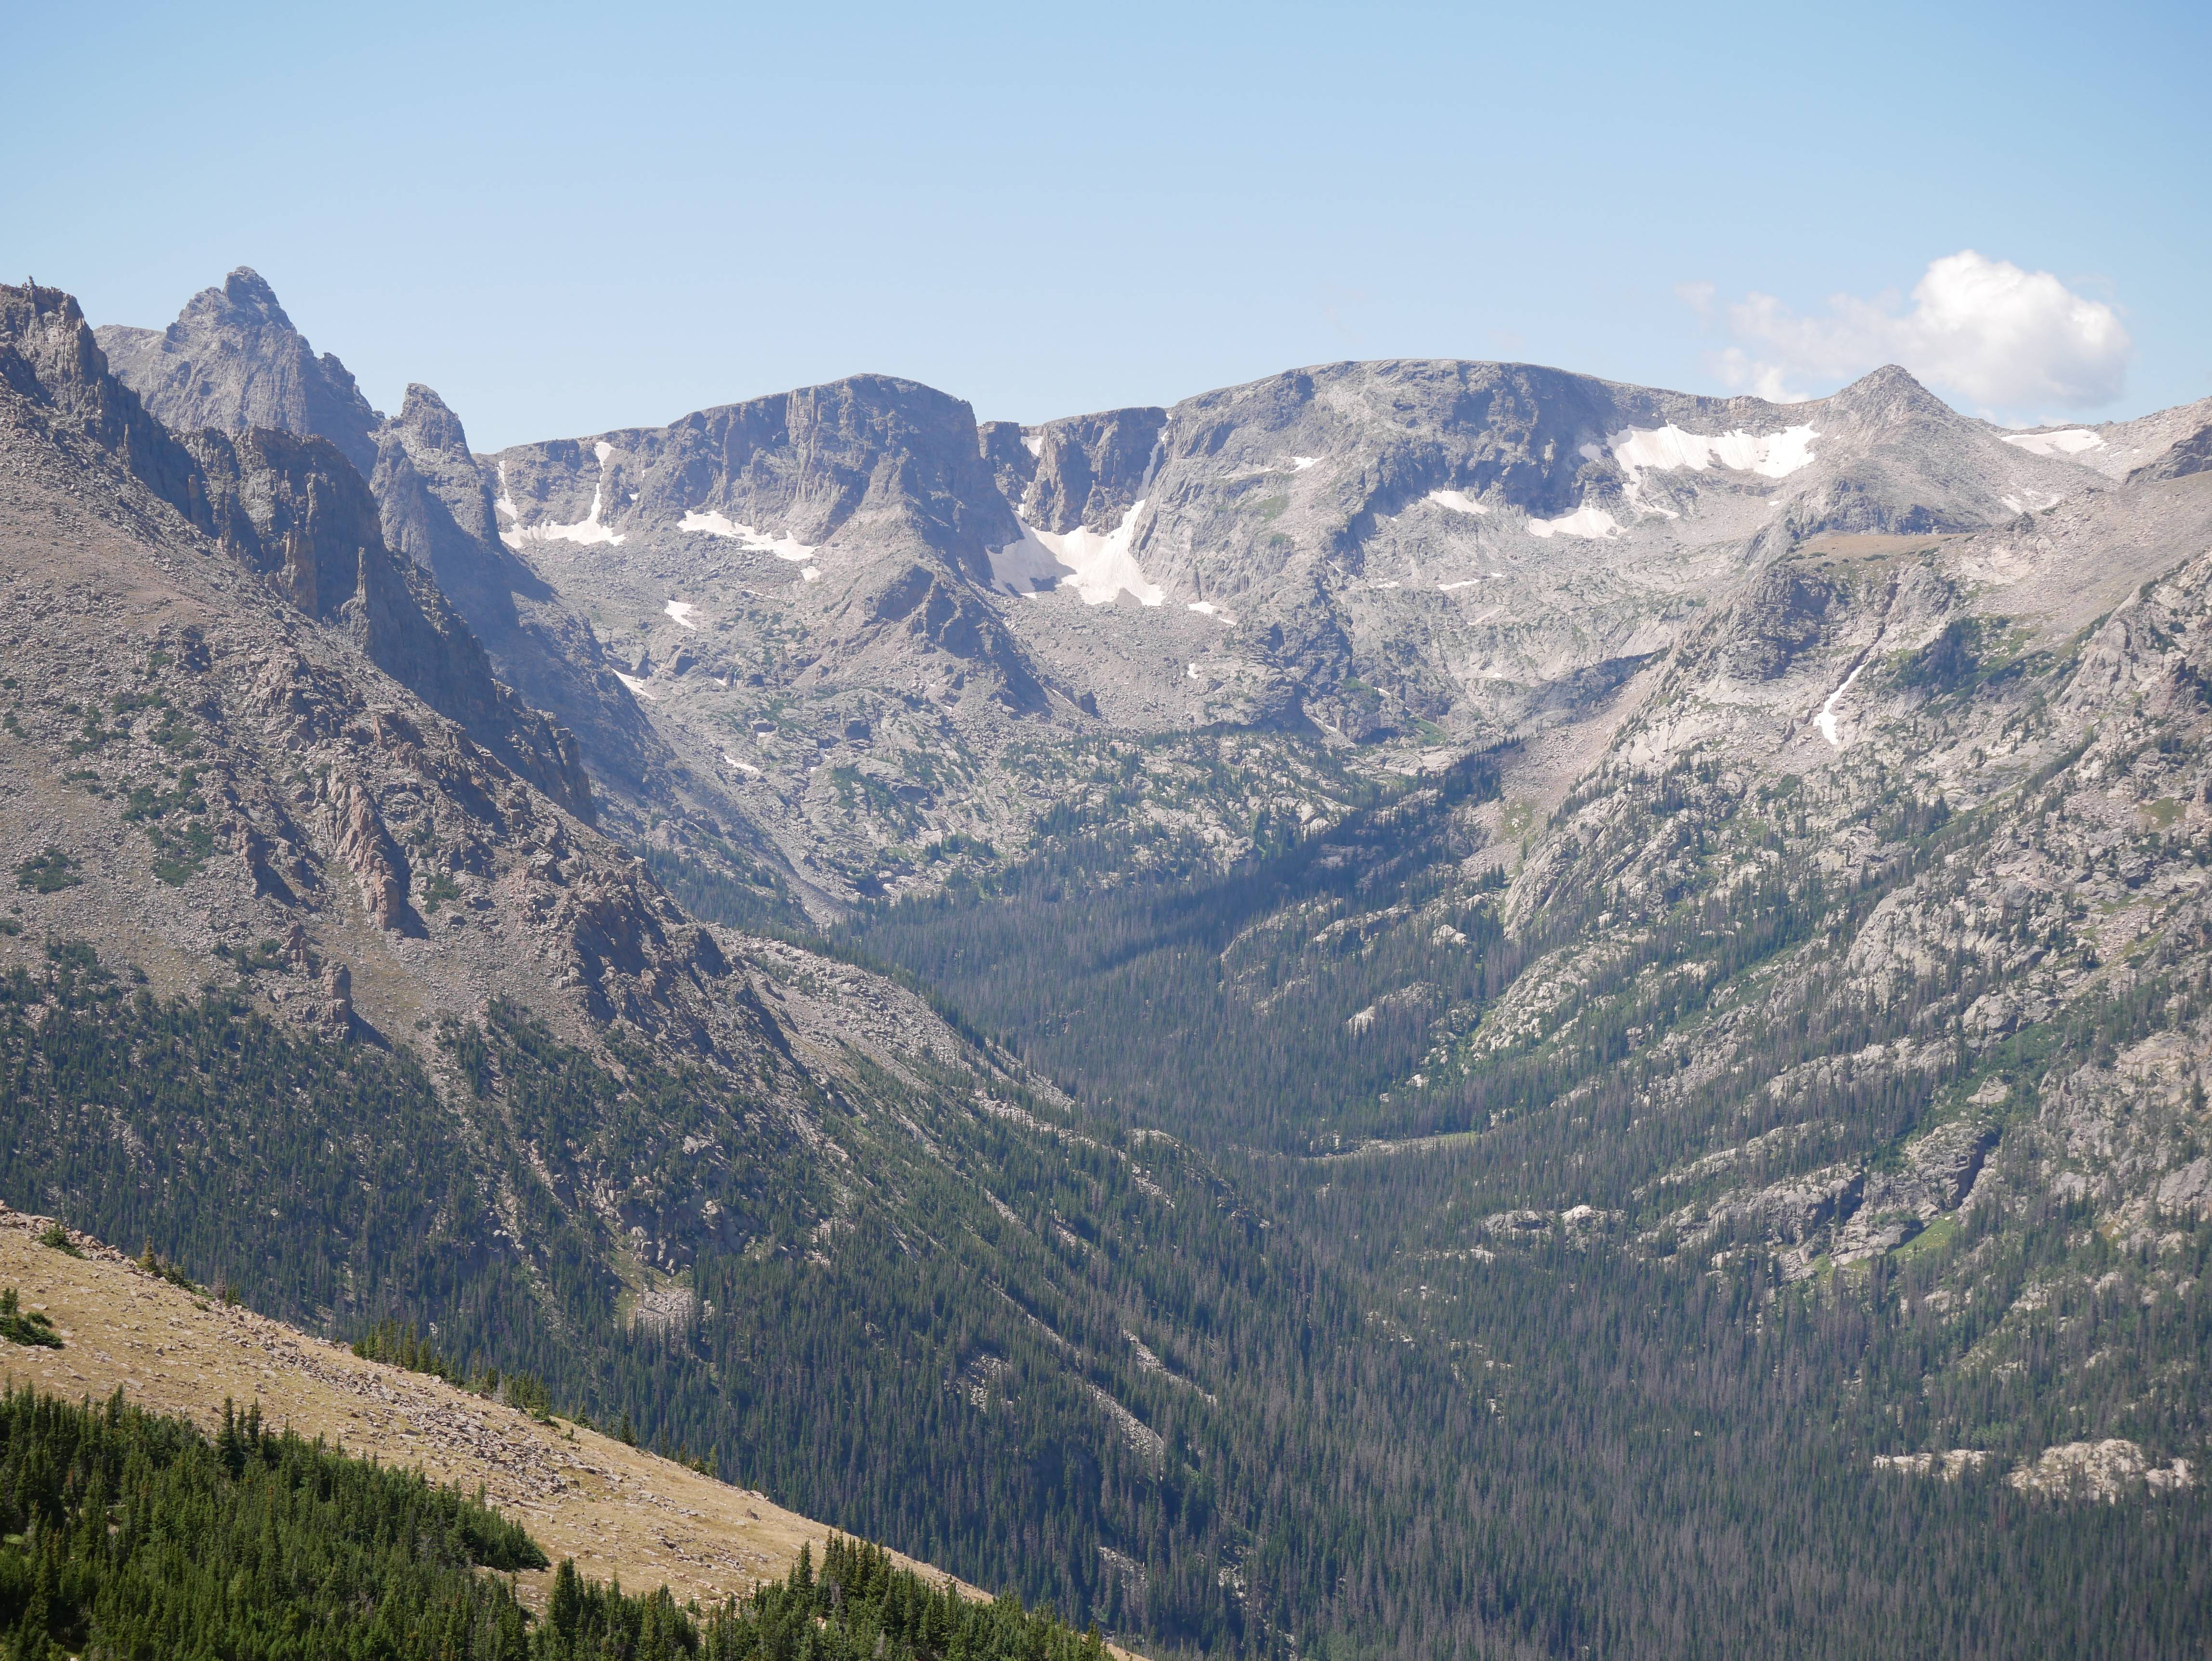
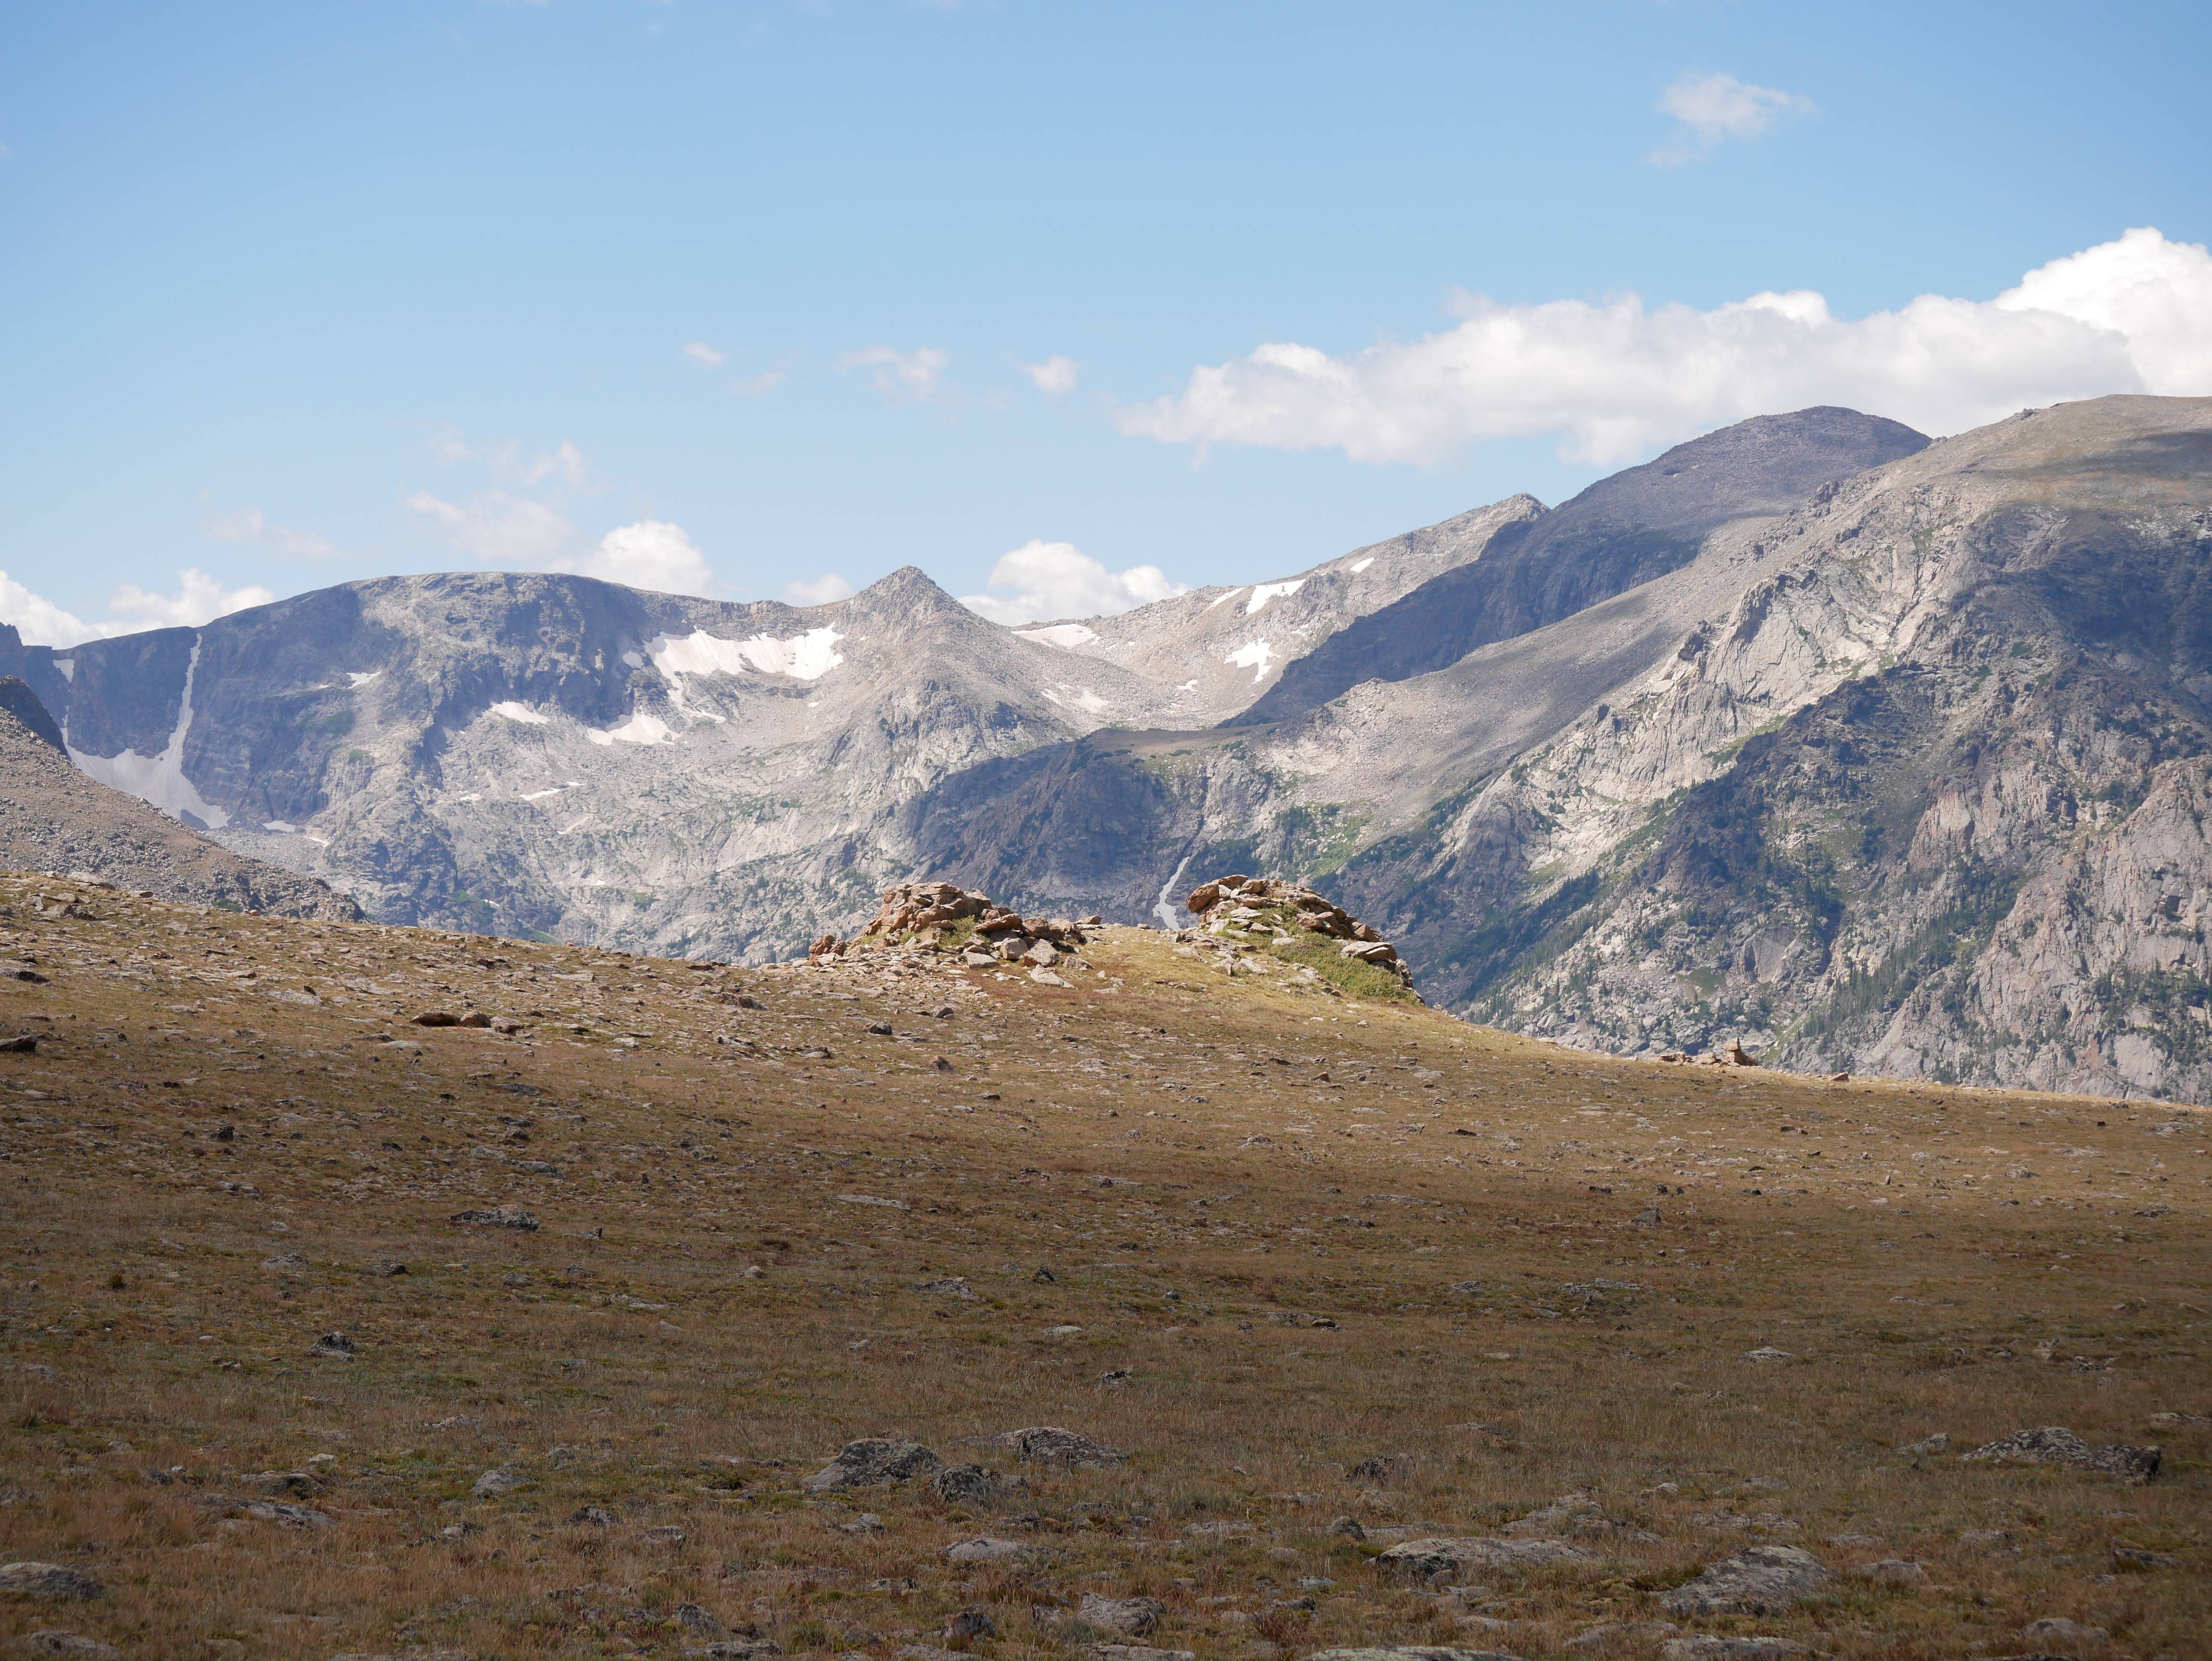
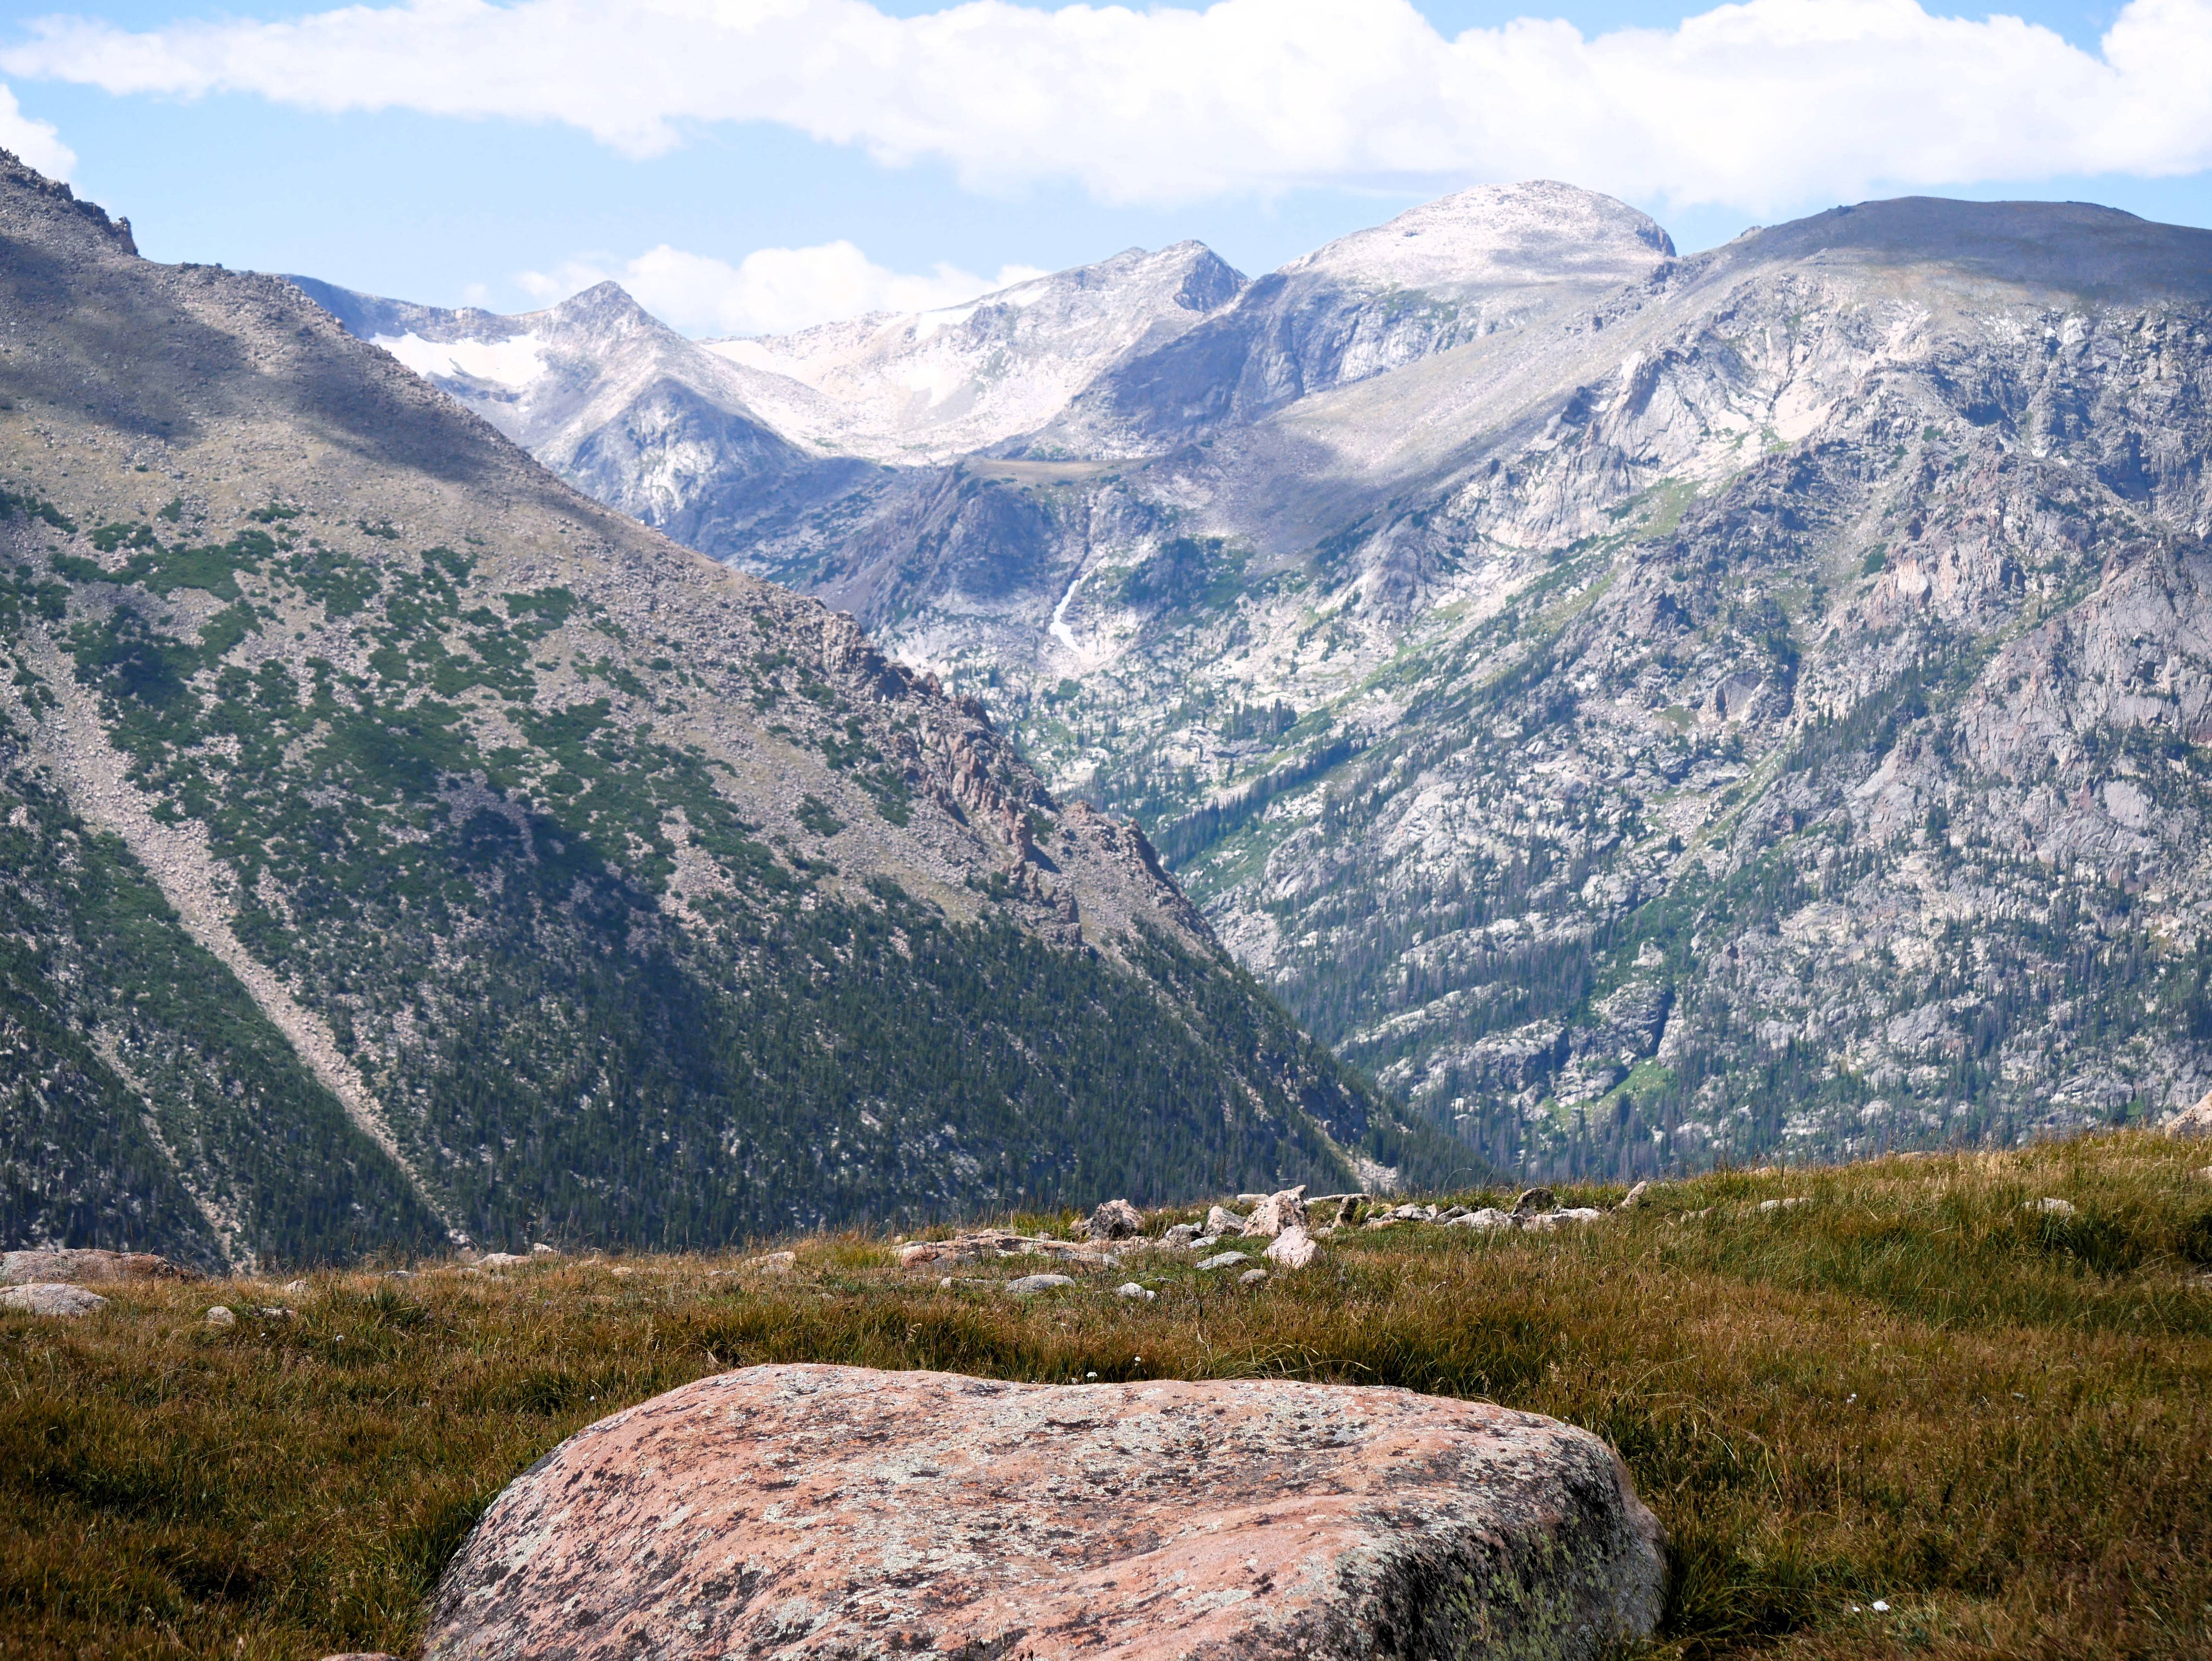
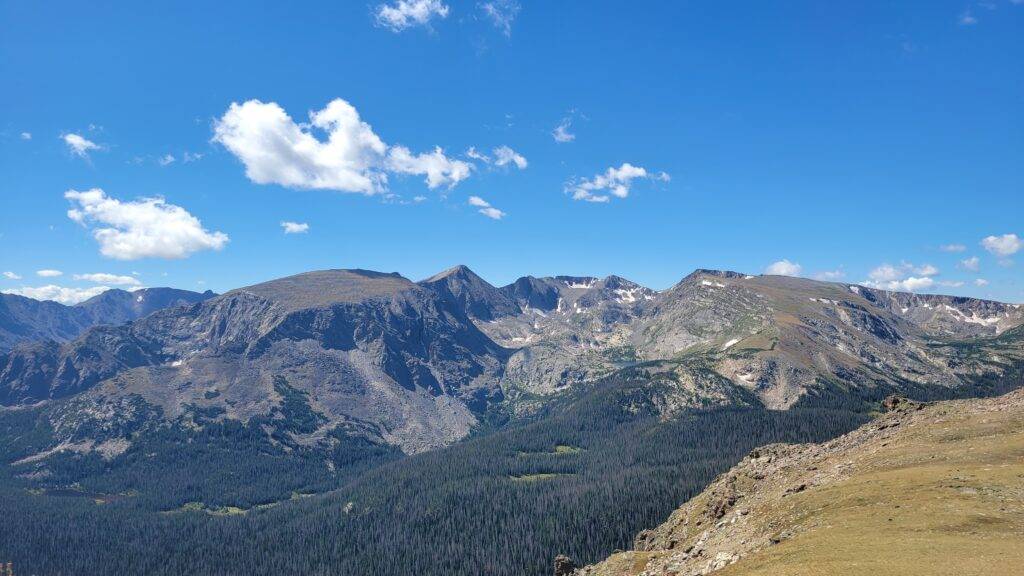
Forest Canyon Overlook

Once you return from your Ute Trail adventure, hop back in your car and head over to the Forest Canyon Overlook. This pull-off point is just three minutes down the road and has a large parking lot with a small trail. The trail ends at a beautiful overlook point that provides some of the most beautiful mountain views in the park! You’ll see this range from several different angles as you drive the Trail Ridge Road, but this outlook is perfectly placed for maximum impact.

This overlook also has a sign that identifies all the mountain peaks and features so you can learn about what’s right in front of you. We were also fortunate enough to spot a herd of elk grazing nearby, so keep your eyes peeled!
Rock Cut/Tundra Communities Trailhead

Just around the corner from the Forest Canyon Overlook is another stunning view of the mountains, which I particularly loved due to the lake nestled in one of the peaks. This spot is specifically marked as “Rock Cut” on Google maps, but it’s not specifically identified as a pull-off. However, the shoulder widens here so there’s just enough room to pull your car to the side next to the rock wall and take it in.
If you’re not sure where to go, you can also just pull off at the Tundra Communities Trailhead (which does have a bit of parking), then cross the road carefully to take in the view. You may find it easier to hit this one on the way back, so you can just pull off to the right.
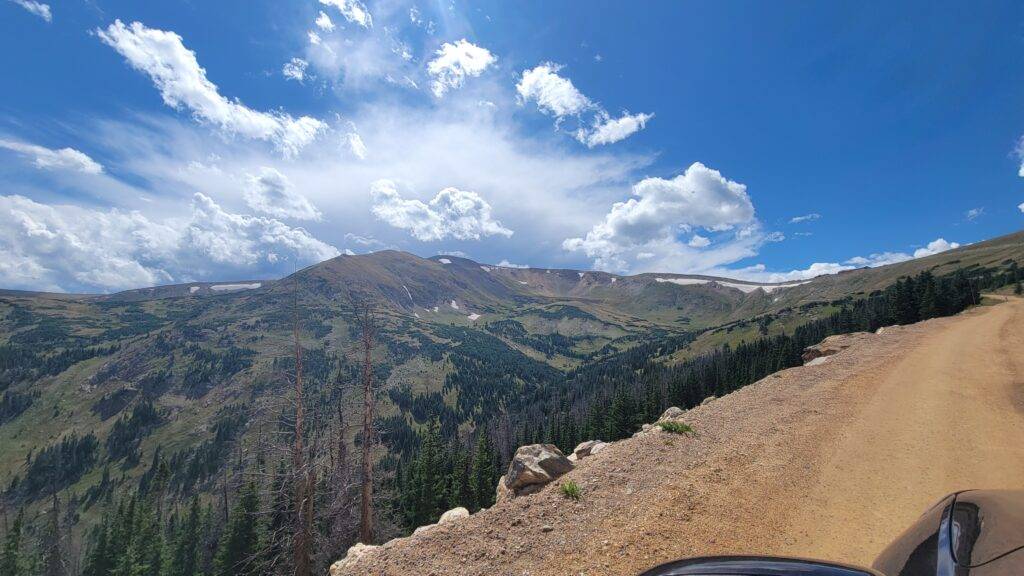
Lava Cliffs Overlook

For a cool glimpse at the park’s previous volcanic activity, a stop by the Lava Cliffs is a must! At over 12,000 feet in elevation, this dramatic wall of lava slopes down into the valley below. Due to its high elevation, it’s often covered in snow, and the color of the lava is quite the contrast from most of the rock you’ll see throughout the park. It also has a fascinating texture if you look closely.
In the distance, you get quite the view of the neighboring mountains. They don’t look very tall from here until you remember that you’re looking at them from 12,000 feet!
This stop is about 10 minutes away from the Forest Canyon Overlook, and does not have parking; just wide pull-off points. It’s also located close to a curve, so be careful if you have to cross the road, and be sure to park far enough to the side that you don’t pose a danger to any other drivers.
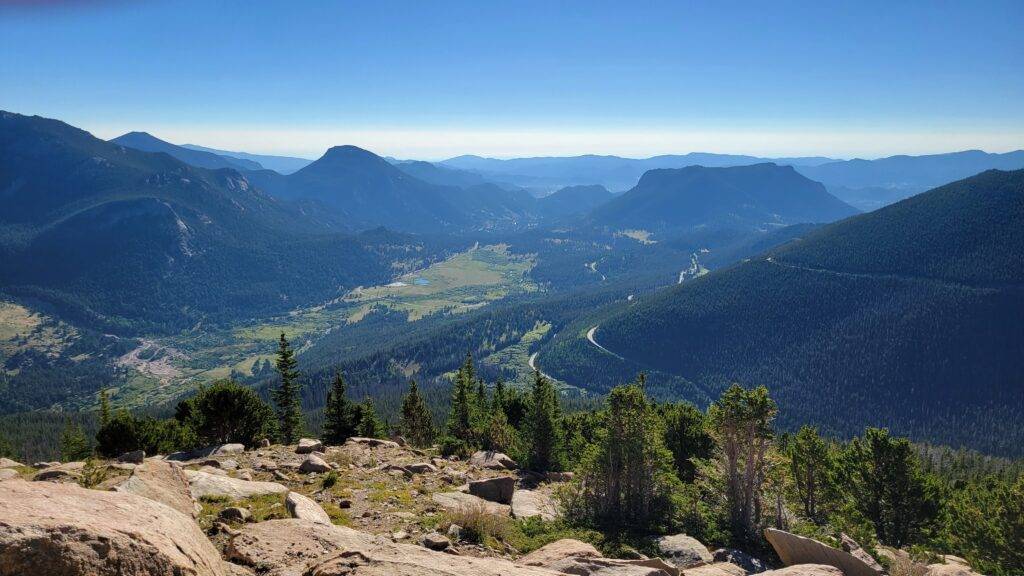
Alpine Visitor Center

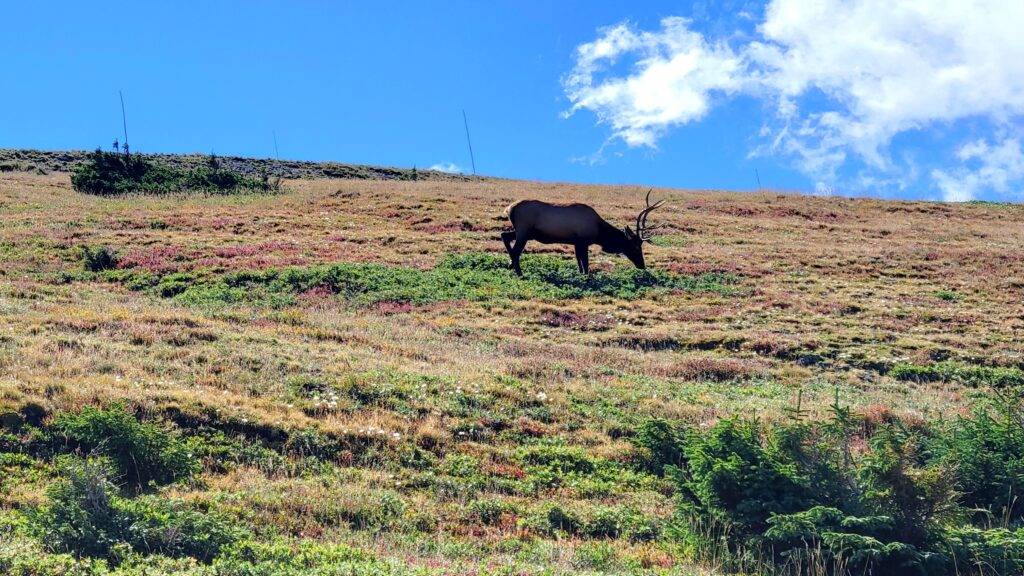
At this point, I recommend stopping by the Alpine Visitor Center (one of the highest visitor centers in the world and the highest in our national park system) for yet another sweeping view and some lunch. This visitor’s center looks out over the Fall River and a dramatic valley with soaring mountains on either side. It’s not uncommon to see elk grazing on the slopes here, so grab that zoom lens or your binoculars!

The visitor center is a great place to take a break, refuel, and re-hydrate before you continue on your journey, so I recommend you do that before taking on the next leg of the adventure. It has a large store with a great variety of Rocky Mountain National Park souvenirs, including items made by locals! So if you’re hoping to take home a unique souvenir, this is the place to look.
Alpine Ridge Trail

Behind the Alpine Visitor’s Center, you’ll find “Huffer’s Trail,” AKA the Alpine Ridge Trail. While it’s a mere 0.6 miles roundtrip, this paved trail is almost guaranteed to take your breath away–in more ways than one!
The path quickly gains elevation, taking you from 11,796 feet above sea level to 12,005. The increase in elevation means thinner oxygen, making the trip up to the top a bit more of an adventure than you might expect!

But despite the sweaty climb, this hike is well worth the views at the end. You get panoramic views of the mountains, and on a clear day, you can see all the way to Wyoming! This is also a wildlife hotspot, so keep an eye out for alpine creatures like marmots, pikas, and mountain goats.


Continental Divide

The last stop on this tour is the Continental Divide! Rocky Mountain National Park includes 28 miles of the Continental Divide, which divides drainage between the Atlantic and Pacific Oceans! The Cache La Poudre Creek actually drains into the Missouri River, then the Mississippi, and eventually into the Gulf of Mexico, while Beaver Creek drains into the Colorado River, goes through Grand Canyon National Park, and then lets out in the Gulf of California. Crazy, right?
Besides the cool river science, this area is just gorgeous! I recommend stopping around Poudre Lake to check out the views and potentially spot some wildlife! This side of the park has a higher chance of moose, in addition to the other amazing creatures you’ve probably spotted throughout your trip.

If you have the legs for it, you can also add on a trek around Milner Pass. We had to skip this due to time constraints, but it’s a popular trail if you can fit it in! It’s only about 10 minutes from the Alpine Visitor Center.
Other Things to Do on Trail Ridge Road
If you have the energy, you’ll find a number of additional hikes on Trail Ridge Road, particularly on the western end, once it curves south. The further you go this way, the more likely you are to see moose, so if that’s important to you, I definitely recommend trying to fit it in.
If you have time but not energy, I recommend just driving the Trail Ridge Road its full length through the park! It’s beautiful the whole way, and, once again, you never know what wildlife may be by the road.
Keep in mind that the drive back to Estes Park from the Continental Divide is an hour without traffic or stops, so you’ll want to plan accordingly. This road is also unlit, and due to the extreme curves and drops, I do not recommend driving it after dark, so be sure to include time for your return transit into your plans.
There are quite a few other outlook points you can stop by on your return journey as well, so you can add in some time to enjoy those or just take in the views as you return back to your hotel.
An Alternative Route to Trail Ridge Road…
If you’re more concerned with seeing as much as possible from your car, you can also access the Trail Ridge Road another way. I have a full blog detailing this, but you can take Old Fall River Road from the Fall River entrance for another beautiful scenic drive. It’s a one-lane dirt road that starts near the Sheeps Lake Information Station and ends at the Alpine Visitor Center.
If you do this, you would just reverse the route above and do everything in opposite order as you head back toward Estes Park. Depending on how early you start your day, you may not have time to do the hikes, but you’ll definitely capitalize on epic views!
Closing Thoughts on Trail Ridge Road

If you’re looking for a gorgeous scenic drive that has hikes, views, and wildlife, this is it! Rocky Mountain National Park has so much to see and do, but Trail Ridge Road truly is a highlight.
If you hit all these stops, you’re almost guaranteed to have a good day, provided the weather isn’t bad. Particularly on a clear day, these mountain views seem to go on forever, and it’s just absolutely magical. I definitely miss them over here on the east coast!
For more information about Colorado and Rocky Mountain National Park, be sure to check out my other blogs and YouTube videos. There’s lot of great tips and information there to make planning your trip that much easier!
Colorado Blogs:
The Best 5-Day Colorado Itinerary
Need a Hot Springs Getaway? Mt. Princeton is the Best!
Get Lost at Meow Wolf Convergence Station in Denver!
Thanks so much for reading this post! If you haven’t subscribed to the blog newsletter yet, I’d love for you to join the community! You’ll get the latest info each week, plus some freebies for signing up. You’ll also be the first to get access to my exclusive travel discounts and codes.
Sign Up for Updates from Carried Away Travels
Don’t forget to like, save, and share this post before you go, and I hope you’ll join me again next week for the latest adventure. Until then, happy travels!
Ready for More? Check Out These Recent Posts!
- Discover Bryce Resort: A Hidden Gem in Basye, VA for Year-Round Mountain Adventures

- How to Ride the Virginia Scenic Railway (and Catch the Fall 2025 Limited Train)

- Puerto Rico Underwater Magic: An Epic Rincón Snorkeling Tour!

- My Honest Reviews of 5 Unique Airbnbs in Puerto Rico
- How to Spend a Weekend in San Juan (Plus Easy Day Trips)!

- Watch the Waters Glow with a Puerto Rico Bio Bay Tour!

Make Vacation Planning Easier

Download my Vacation Planner or Travel Blogger’s Planner today!